How to make a creator wishlist (step-by-step guide for beginners)
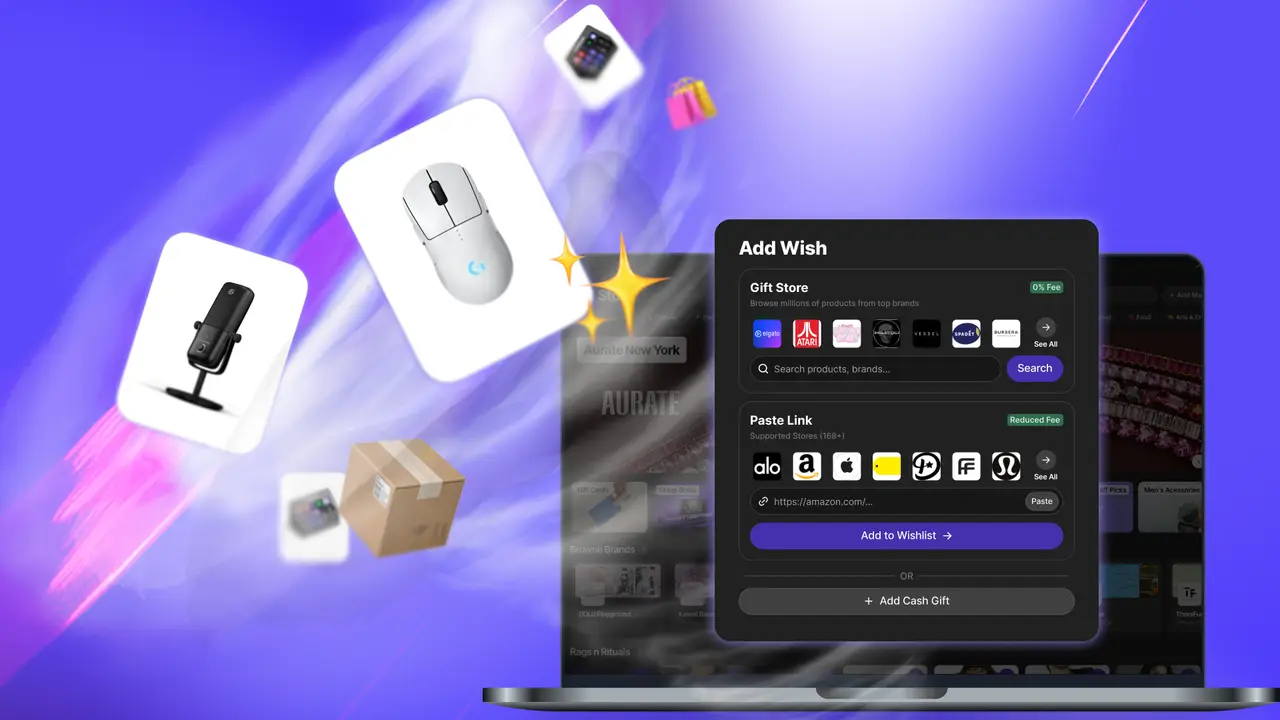
If you’re a creator, a wishlist is one of the easiest ways to let your audience support you.
If you’re a creator, a wishlist is one of the easiest ways to let your audience support you.
Instead of guessing, they know exactly what you want AND won’t have access to your private information.
Here’s how to set one up.
Step 1: Choose a wishlist platform
You want a site that
Protects your privacy
Lets you add items easily
Works across different stores
Step 2: Add items you actually need
Think about what would actually improve your content, such as
Equipment upgrades
Software or tools
Everyday items (clothes, gift cards, ect.)
Be specific! The clearer your list, the easier it is for people to choose.
Step 3: Include a variety of items
Not everyone can spend the same amount, a good wishlist includes
Low cost items
Mid range options
Bigger goals
Now your wishlist is accessible to everyone.
Step 4: Organize your list
Group items together so it’s easy to browse in groups like
Streaming setup
Content tools
Personal items (“For my dog”)
Step 5: Share your wishlist
Once it’s ready, add your wishlist link to
Your Twitch channel
All your social media bios
mention it on your channels/in post captions
Make it easy to find.
Step 6: Keep it updated
Remove items you’ve received and add new ones.
Final Thoughts
A wishlist isn’t just a list. It’s a simple way to turn audience support into something useful.
You can set up your wishlist in minutes and start receiving support right away!