How to Set Up Twitch Panels (and Why They're So Important)
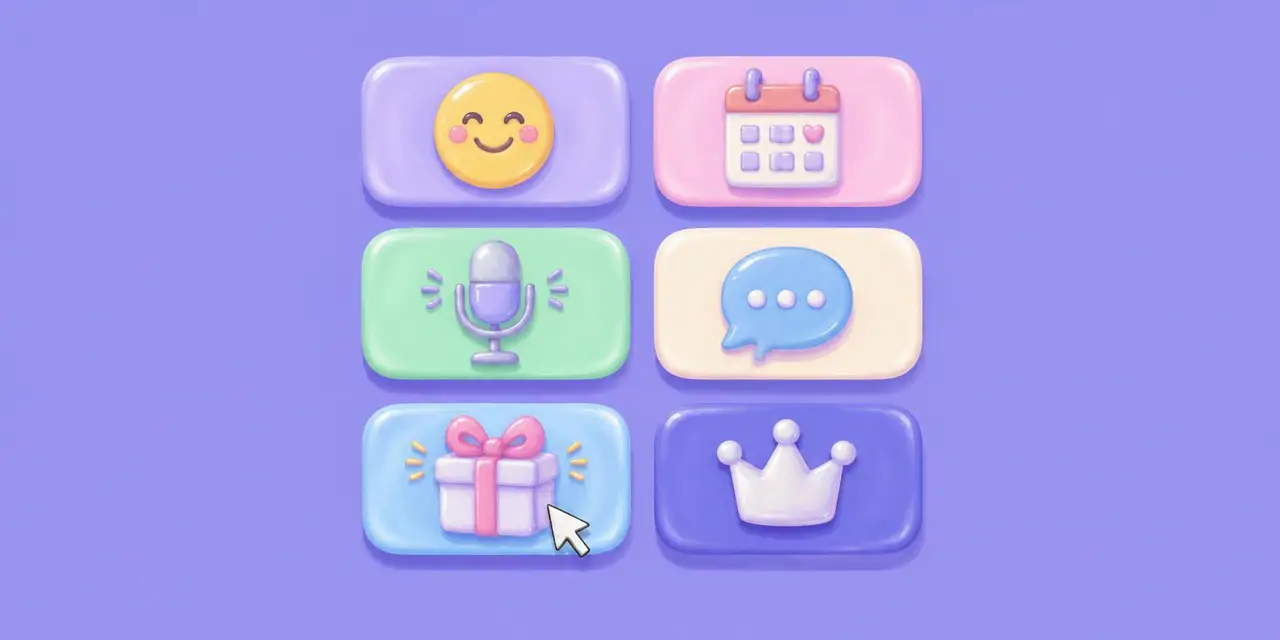
Twitch panels may seem small, but they make a huge difference when it comes to branding, engagement, and monetization.
Quick answer: Twitch panels are the info boxes under your stream, in your channel’s About section. To add one, go to your channel, open the About tab, turn on Edit Panels, and click the plus sign. Panel images max out at 320 pixels wide, and most streamers use panels for their bio, schedule, rules, socials, and wishlist.
Whether you’re a new Twitch streamer or looking to level up your channel, customizing your Twitch panels is one of the easiest ways to make a strong first impression. These are the small sections under your stream that can hold everything from your bio to links, images, and ways to support you.
Let’s break down how to set up Twitch panels, how to make them stand out, and most importantly, why they actually matter.
What Are Twitch Panels?
Twitch panels are customizable sections in the About section of your channel. They organize everything viewers need to know about your stream: who you are, what you play, how to support you, your gear, your rules, and your socials.
Think of them as your stream’s homepage. Viewers scroll through them to get a sense of your brand and decide whether they want to stick around.
Why Do Twitch Panels Matter?
1. First impressions count. New viewers often scroll down when checking out a stream. A polished panel layout shows you take streaming seriously and makes you look more professional, even if you’re just getting started.
2. They drive engagement. Panels can send clicks to your socials, merch, affiliate links, or Discord server. Want people to follow you on X or buy you something off your Throne wishlist? Make it easy with a dedicated panel.
3. They help you earn. Whether it’s tips, affiliate links, or your Throne wishlist, panels are prime real estate for supporting your journey as a creator.
4. They set expectations. A rules panel helps manage chat behavior. A schedule panel lets fans know when to catch your next stream. Here’s how to create a stream schedule on Twitch. Clarity = loyalty.
5. They answer fan FAQs. Skip repeating the same answers on stream by creating panels for the most common questions, like what mic you use, what’s in your PC, or how fans can support you.
How Do You Set Up Twitch Panels?
Setting up panels is easier than you think. Here’s how:
Step 1: Go to your channel. Log into Twitch, click your profile picture in the top-right corner, select Channel, then click the About tab.
Step 2: Turn on Edit Panels. At the bottom of the About section, toggle Edit Panels on.
Step 3: Add a new panel. Click the plus sign to add a panel. You can choose from:
Text/Image Panel: Add an image, like a custom panel header, and include a link (great for socials, tip jars, and wishlists).
Extension Panel: Use third-party tools like Streamlabs, Spotify, or schedule widgets to make your panels interactive.
Step 4: Upload images (optional). You can create custom panel headers in tools like Canva or Photopea. Panel images max out at 320 pixels wide, and most streamers use 320 x 100 to 160 pixels. Keep files under 1MB so your channel page loads quickly.
Step 5: Save and rearrange. Drag panels to reorder them and give your About section a clean, organized look.
How Do You Add a Throne Panel to Twitch?
A wishlist panel is one of the easiest ways to let fans support you beyond subs and Bits. Throne has ready-made panels and logos you can add to your channel. Here’s how to add Throne panels and logos to your channel.
Add a short line under the panel, like “Want to send a gift? My address stays private through Throne.” Fans are more likely to click when they know it’s safe for you.
How Do You Make Better Twitch Panels?
Stay consistent: Use matching fonts, colors, and branding that align with your stream overlays.
Link smart: Add links to your Throne wishlist, Discord, or tip page using panels that clearly tell viewers what to do (e.g., “Support the Stream!”).
Be you: Add a “Meet the Streamer” panel with a short bio or fun facts so people get to know you.
Less is more: Don’t overwhelm new viewers. Keep panels short and easy to read.
What Tools Can You Use to Make Twitch Panels?
Canva: Free design templates and tools
Photopea: A browser-based Photoshop alternative
Nerd or Die: Free Twitch panel maker
Streamlabs: Built for streamers, with free panel templates
Are Twitch Panels Worth the Effort?
Twitch panels may seem small, but they make a huge difference for branding, engagement, and support. Setting them up only takes a few minutes, and once they’re done right, they work for you every time someone visits your channel.
So whether you’re sharing your stream schedule, linking your Throne wishlist, or introducing yourself to new viewers, Twitch panels are the perfect way to turn casual viewers into fans.
Frequently Asked Questions
What size should Twitch panels be? Panel images max out at 320 pixels wide. Most streamers use 320 x 100 to 160 pixels and keep files under 1MB.
How many Twitch panels can you have? There’s no hard limit, but most streamers keep it to 5 to 10 so the page stays easy to scan.
Can you add links to Twitch panels? Yes. Text/Image panels can link to your socials, Discord, or wishlist.
Your panels are ready for fans. Give them something to click. Start Your Wishlist